Introduction
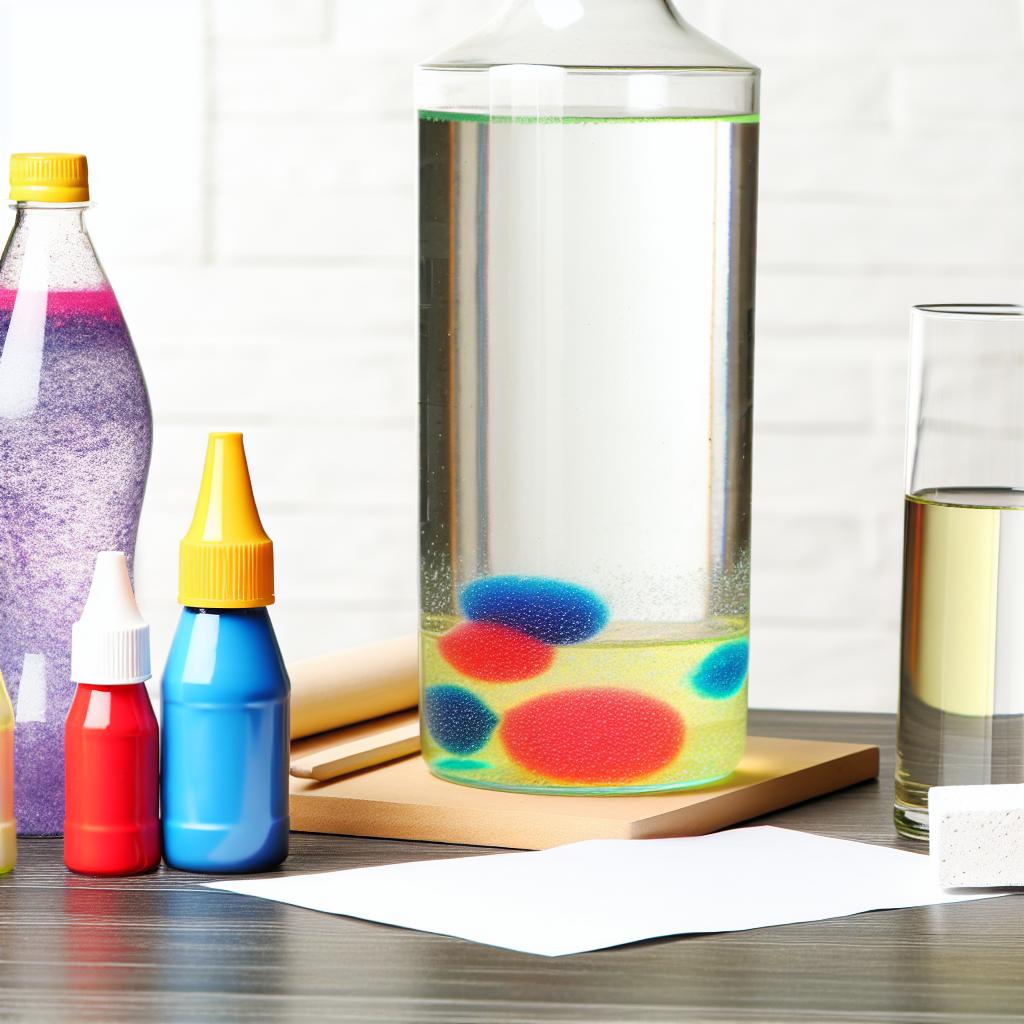
Lava lamps have been captivating audiences for decades with their hypnotic displays of moving colors and shapes. Imagine capturing that mesmerizing effect right in your own home with a homemade lava lamp. This exciting DIY science project is perfect for parents and kids looking for a fun and educational activity that brings together creativity and a dash of scientific exploration. With simple materials you probably already have at home, you can create a stunning piece of décor that not only looks cool but also teaches fundamental principles of science. In this guide, we’ll take you through the science behind lava lamps, the materials you’ll need, and step-by-step instructions to create your own. Plus, we’ll explore some fun variations to customize your lava lamp experience.
Science Behind Lava Lamps
Before diving into the making of a homemade lava lamp, it’s essential to understand how they work. The classic lava lamp involves two main components: wax and a clear liquid, typically oil and water. When heated, the wax expands and rises because it’s less dense than the surrounding liquid. Upon cooling, it contracts and sinks back down. This cycle continues as long as the lamp is on, creating the captivating motion we all enjoy.
The homemade version simplifies these components but operates on similar principles. You’ll be using oil, water, and a few other household items to mimic the effect. This DIY science project is a fantastic way to introduce children to fundamental concepts like density, polarity, and the interaction between different liquids.
Materials Needed
Creating a homemade lava lamp requires only a handful of household items. Here’s what you’ll need:
- A clear bottle or glass jar with a lid
- Vegetable oil or baby oil
- Water
- Food coloring
- Alka-Seltzer tablets or any effervescent antacid tablets
- A flashlight or small lamp for illumination (optional)
These simple materials will allow you to explore the science behind lava lamps while enjoying a delightful hands-on project. If you enjoy crafting with common household items, you might also be interested in making homemade Pine-Sol.
Step-by-Step Instructions
1. Prepare the Container
Start by filling your clear bottle or jar about three-quarters full with oil. Vegetable oil works well, but for a clearer lamp, you might consider using baby oil.
2. Add Water
Fill the remaining quarter of the bottle with water. You’ll notice that the water sinks to the bottom of the oil, and the two liquids won’t mix. This is due to their different densities and polarities.
3. Add Color
Add a few drops of food coloring to the water. Since food coloring is water-based, it will sink through the oil and color the water at the bottom. You can choose any color you like, or even mix different colors for a unique effect.
4. Create the Lava Effect
Break an Alka-Seltzer tablet into a few pieces, then drop one piece into the bottle. Watch as the reaction begins. The tablet will create carbon dioxide gas bubbles, which will carry some of the colored water upwards into the oil. As the gas escapes, the water will sink back down. This creates the classic lava lamp effect.
5. Add Light
To make your homemade lava lamp even more enchanting, illuminate it from below using a flashlight or a small lamp. This will enhance the colors and movement, making the experience even more magical.
Exploring such simple experiences at home allows kids to see how fascinating science can be. If you’re looking for more ways to involve children in hands-on activities, check out our easy DIY spring décor ideas.
Fun Variations
Once you’ve mastered the basic DIY science project of a homemade lava lamp, why not experiment with some fun variations? Here are a few ideas to get you started:
Change the Colors
Try using different food coloring combinations to alter the appearance of your lava lamp with each experiment. You can create a stunning mix by combining colors like red and blue for a purple shade or yellow and red for orange.
Play with Proportions
Experiment with different water-to-oil ratios or even add glitter to the mix for an extra sparkle. The varying proportions will change the speed and size of the bubbling effect.
Themed Lava Lamps
Use colored oils or even glow-in-the-dark paint for fun party themes or a spooky Halloween effect. This could lead to an exciting science-related décor project, complementing your next themed event.
If you’re inspired to take your DIY projects further, consider upcycling projects or learn how to upcycle old entertainment centers into something new.
Scented Lava Lamp
Add a few drops of essential oils to your lava lamp for a calming or invigorating scent. While this won’t affect the scientific process, it adds an aromatic dimension to your creation.
Conclusion
Creating homemade lava lamps is not just an engaging activity for parents and kids but also an excellent way to introduce basic scientific principles in a fun and tangible way. With simple materials and easy-to-follow steps, you can enjoy this magical decoration in your own home. Plus, the various fun tweaks and changes you can make allow for endless creativity and learning.
If you’re enthusiastic about more DIY science projects, consider trying out additional experiments like DIY Japanese beetle spray for gardens or making homemade Vicks Vapor Rub. These projects not only enhance your DIY skills but also enrich your home with personalized and creative crafts.


