DIY Tube Top Easy Fashion from Home
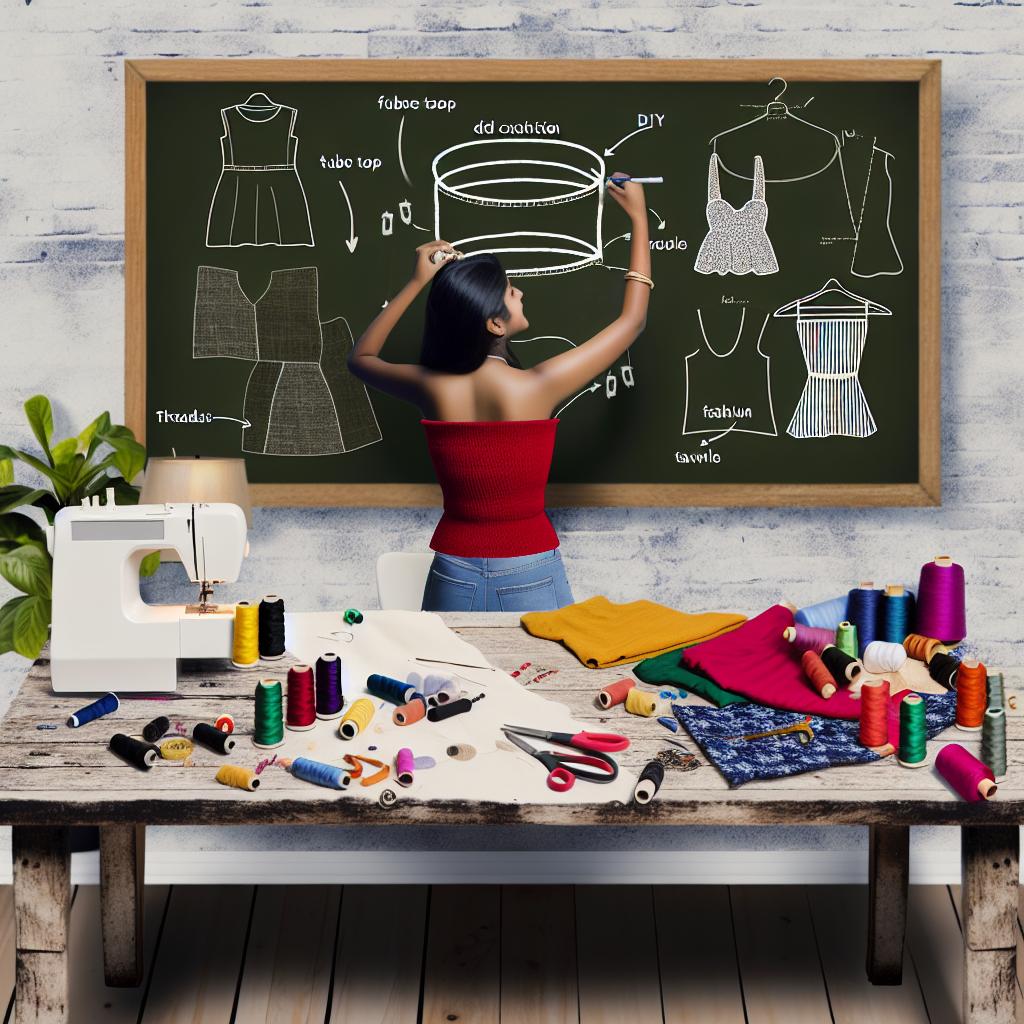
Are you looking to up your fashion game without breaking the bank? With a little creativity and some basic materials, you can create a stunning DIY tube top right from the comfort of your home. In this comprehensive guide, we’ll walk you through everything you need to know to create your own fashionable, custom tube top.
From gathering materials to detailed, step-by-step instructions, and even ideas for customization, we’ve got you covered. Let’s get started on this exciting DIY fashion journey!
Materials Needed
Before diving into the crafting process, it’s essential to gather all the necessary materials. Thankfully, creating a DIY tube top doesn’t require a lot of expensive supplies. Here’s what you’ll need:
Fabric
- Stretchy fabric like cotton or jersey (about 1 yard or meter)
- Optional: contrasting fabric for trim or decoration
Sewing Supplies
- Sewing machine or needle and thread
- Scissors
- Measuring tape
- Sewing pins
- Elastic (1/2 inch to 1 inch wide)
Additional Materials
- Marking chalk or fabric pen
- Iron and ironing board
- Optional: fabric glue or hot glue gun
With these materials in hand, you’re ready to create your custom tube top. Let’s move on to the step-by-step instructions.
Step-by-Step Instructions
1. Taking Measurements
Start by measuring yourself to ensure a perfect fit. You’ll need the following measurements:
- Bust circumference
- Underbust circumference
- Desired length of the tube top (from under your armpit to where you want the top to end)
Write down these measurements, as you’ll use them later for cutting the fabric.
2. Cutting the Fabric
Lay your fabric on a flat surface. Using your measurements, draw a rectangle on the fabric, adding an extra inch for seam allowance on all sides. Cut out the rectangle with scissors.
For the elastic, cut two pieces: one for the top of the tube and one for the bottom. These should be about 2 inches less than your bust and underbust measurements, respectively, to ensure a snug fit.
3. Sewing the Hem
Fold the top and bottom edges of the fabric inward by about 1/2 inch and press with an iron. Pin the fabric in place to keep it secure. Sew along the folded edges to create a hem, leaving enough space to insert the elastic.
4. Inserting the Elastic
Attach a safety pin to one end of the elastic and thread it through the hem casing at the top of the tube. Once the elastic is fully threaded through, sew the ends together. Repeat this step for the bottom hem.
5. Sewing the Side Seam
Fold the fabric in half with the right sides facing each other and pin the side edges together. Sew along the pinned edge to form the tube shape. Make sure to backstitch at the beginning and end to secure the seam.
6. Trying On Your New Tube Top
Turn your tube top right side out and try it on to ensure a good fit. Adjust as needed by taking in the side seam or trimming away excess fabric.
Customization Tips
One of the best parts of DIY fashion is the ability to customize your creations. Here are some ideas to make your tube top uniquely yours:
Adding Trim or Lace
Give your tube top a delicate touch by sewing lace or trim along the top and bottom edges. This is a great way to add a feminine flair and enhance the overall appearance of your top.
Fabric Paint or Patches
Use fabric paint or iron-on patches to create patterns, designs, or even quotes on your tube top. This is an excellent way to express your personality and style.
Decorative Straps
If you prefer some extra support, consider adding decorative straps to your tube top. You can use ribbon, braided fabric, or even beaded strands for a unique look.
Creating a Matching Set
Expand your DIY fashion project by creating a matching skirt or shorts to go with your tube top. This way, you can have a complete custom outfit.
Once you’ve mastered the basics, the possibilities for customization are endless. Feel free to experiment and let your creativity shine!
Conclusion
Creating your DIY tube top is a fun and rewarding way to add a personalized touch to your wardrobe. With just a few inexpensive materials and a bit of time, you can craft a fashionable and comfortable tube top that perfectly fits your style.
If you enjoyed this project, you might also like these other DIY fashion and home décor ideas:
DIY Electroplating at Home – Complete Guide,
Cardboard Crafts for Home Decor,
and
DIY Fall Decor Ideas to Cozy Up Your Home.
Be sure to check them out for more inspiration and creative projects.
Happy crafting, and enjoy your new DIY tube top!


