Introduction
Renovating your home doesn’t have to break the bank! Whether you’re tired of your current setup or simply eager to add a personal touch, DIY home design is an exciting endeavor that can breathe new life into your living space. With thoughtful planning and a sprinkle of creativity, you can achieve stunning transformations without emptying your wallet. This article will guide you through a range of budget-friendly design ideas, materials needed, step-by-step instructions, and tips for customization, blending style with affordability.
Embarking on a DIY home improvement journey not only saves money but also gives you the freedom to tailor the aesthetics to suit your taste. From upgrading the living room to revamping the kitchen, enjoy the satisfaction of crafting spaces that reflect your personality and preferences. Read on for a treasure trove of ideas designed to inspire and empower homeowners looking for an affordable home design revolution.
Budget-Friendly Design Ideas
1. Living Room Makeover
The living room is often the focal point of a home, making it the perfect place to start your DIY home design adventure. Simplistic touches can make a striking difference:
- Paint an Accent Wall: Introduce a pop of color or an interesting pattern to a single wall. This technique draws attention and adds depth to your space.
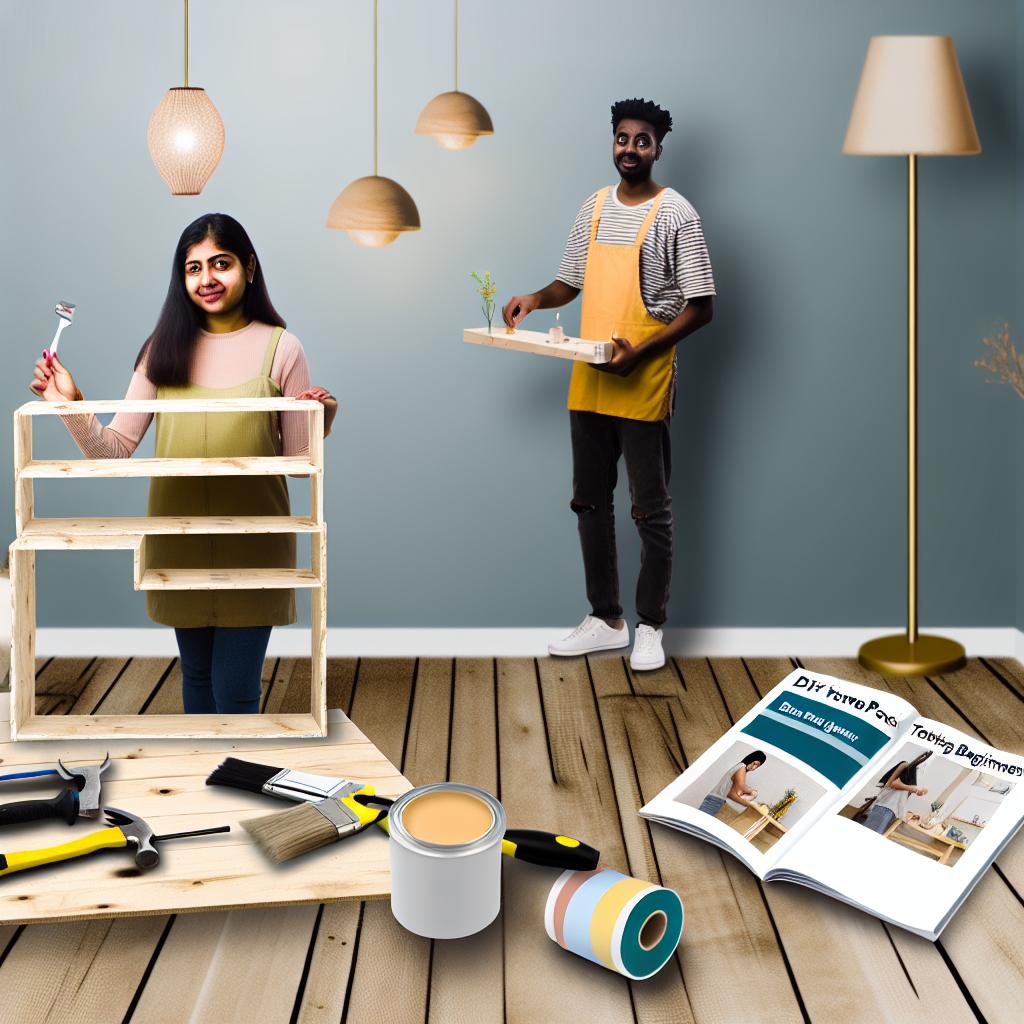
- DIY Shelving Units: Build chic shelving with repurposed materials or inexpensive wood planks. These can house books, plants, or decorative items.
- Creative Lighting: Swap old fixtures for DIY lampshades made from wire, fabric, or even paper for an artistic touch.
For more inspiration on easy yet impactful projects, explore our guide on simple décor ideas for beginners.
2. Kitchen Refresh
The kitchen is the heart of every home, and a few strategic improvements can make it both functional and stylish:
- Cabinet Refacing: Instead of replacing cabinets, repaint them or add new hardware to provide a fresh look.
- Backsplash Update: Install an affordable tile backsplash or create one with peel-and-stick options for an instant upgrade.
- DIY Kitchen Accessories: Craft a fruit fly spray using natural ingredients by following our guide on DIY natural fruit fly spray.
3. Bedroom Brilliance
Transform your bedroom into a dreamy retreat with these cost-effective tips:
- Headboard Hack: Design your headboard using reclaimed wood or even a printed fabric stapled to a foam board.
- Textured Throws and Pillows: Introduce texture through DIY cushion covers and blankets to add warmth and interest.
- Ambient Lighting Solutions: Use string lights or create homemade lamps using mason jars to add cozy lighting.
4. Bathroom Beauty
Bathrooms don’t require a complete overhaul to feel spa-like:
- Mirror Framing: Frame the mirror with wood or a metallic finish to give it a designer look.
- Wall Art: Use creative cardboard crafts for bathroom decor. See our ideas on creative cardboard crafts.
- Organizational Hacks: Install open shelves and use decorative baskets to keep essentials handy and organized.
Materials Needed
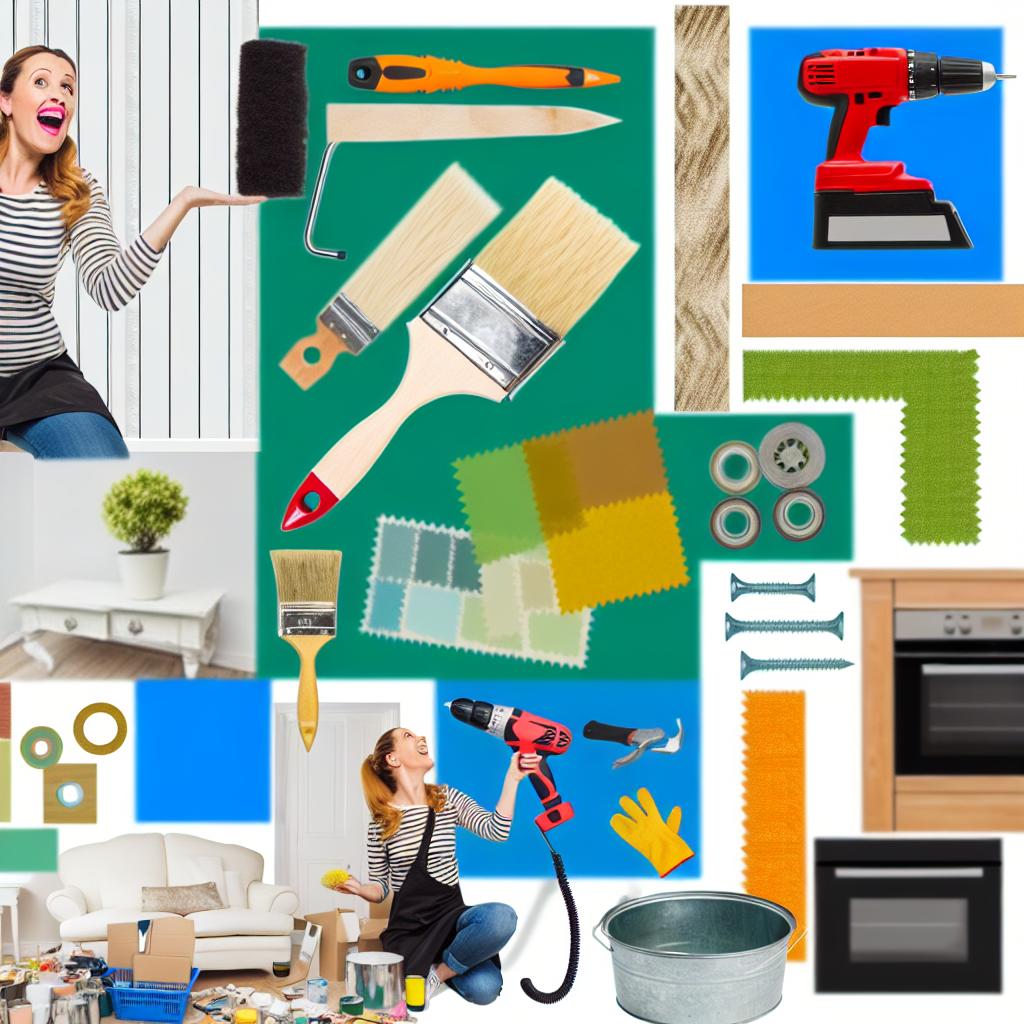
To kickstart your DIY home improvement projects, gather the following materials and tools. This checklist is essential for versatility and functionality:
- Paint and Brushes/Rollers
- Wood Planks and Finishes
- Nails, Hammer, and Screws
- Glue Gun and Adhesive Tapes
- Drill and Screwdriver Set
- Fabric for Upholstery or Curtains
- Lighting Fixtures and Bulbs
- Wire or Ropes for Shelves/Lights
- Decorative Papers or Wrapping Sheets
- Peel-and-Stick Wall Tiles
- Baskets, Jars, and Storage Solutions
Step-by-Step Instructions
Paint an Accent Wall
Materials Needed: Paint of chosen color, painter’s tape, roller or brush, drop cloth.
- Choose the wall you wish to accentuate. It could be a wall behind a major piece of furniture or that immediately grabs attention when entering the room.
- Lay down a drop cloth to protect your floor from paint splatters.
- Tape off edges, corners, and any other areas you want to protect with painter’s tape.
- Mix your paint thoroughly and begin applying it with even strokes using a roller or brush. Start from the top and work downwards.
- Allow the first coat to dry completely. Apply a second coat for consistency if necessary.
- Carefully remove the painter’s tape once the paint dries. Touch up any areas if required.
DIY Shelving Units
Materials Needed: Wood planks, brackets, drill, level, screws, sandpaper, paint or stain (optional).
- Determine the desired height and length for the shelves and cut wood planks accordingly. Sand the edges for a smooth finish.
- If you want to paint or stain your shelves, do so before installation. Let them dry completely.
- Use a level to mark where each bracket will be placed on the wall to ensure even alignment.
- Drill holes for brackets and insert screws to secure them to the wall.
- Place the wood planks on the brackets. Secure the planks to the brackets with screws if needed.
Cabinet Refacing
Materials Needed: Sandpaper, paint or stain, brushes, new hardware (knobs and handles), screwdriver.
- Remove all doors and drawers from the cabinets and unscrew existing hardware.
- Sand the surfaces thoroughly to remove any gloss. This helps the paint or stain adhere better.
- Clean surfaces to remove dust. Apply a coat of primer if you are using a light color over a dark base.
- Paint or stain the doors, drawers, and cabinet frames. Ensure even coverage with a second coat if necessary.
- Once dry, reattach hardware or replace it with new knobs and handles for a refreshed appearance.
- Reinstall doors and drawers. Enjoy your updated cabinets that appear brand new!
Tips for Customization
Personalize with Patterns and Textures
Introduce various patterns and textures to reflect your personality in your home’s design. Consider using stencils for wall patterns, crocheted throw pillow covers, or woven wall tapestries for texture.
Maximize Space with Functional Furniture
Utilize furniture that offers storage solutions. Look for or craft multi-functional pieces like ottomans with hidden storage, fold-out desks, or bookshelves that double as room dividers for apartments.
Seasonal Decor
Adapting your decor seasonally keeps your home feeling fresh. Explore seasonal DIY crafts like fall decorations, as covered in our DIY fall decor ideas.
Green Up Your Space
Add greenery to your home with easy-to-maintain plants. DIY planters using household items and repurpose old containers or teapots as quirky plant pots.
Conclusion
Revitalizing your home doesn’t require a hefty budget; it merely asks for a bit of inspiration and elbow grease. These DIY home design ideas can significantly enhance the aesthetic of your interiors without costing a fortune. Whether you’re painting an accent wall or crafting unique decor pieces, each project doubles as a paycheck in personal creativity and self-expression.
Start small with your DIY ventures and gradually grow in complexity and creativity, taking cues from projects that challenge your skills. Let these practical ideas inspire you to create and design the home you’ve always envisioned. Remember, your home should be as unique as you are!
For more creative and cost-effective home improvement projects, dive into our resources like simple décor ideas for beginners and homemade Mod Podge craft projects.


