Author name: liran.m.work@gmail.com

DIY crafts for every season with dollar store items
Uncategorized

Dollar Tree Craft Ideas for Every Season

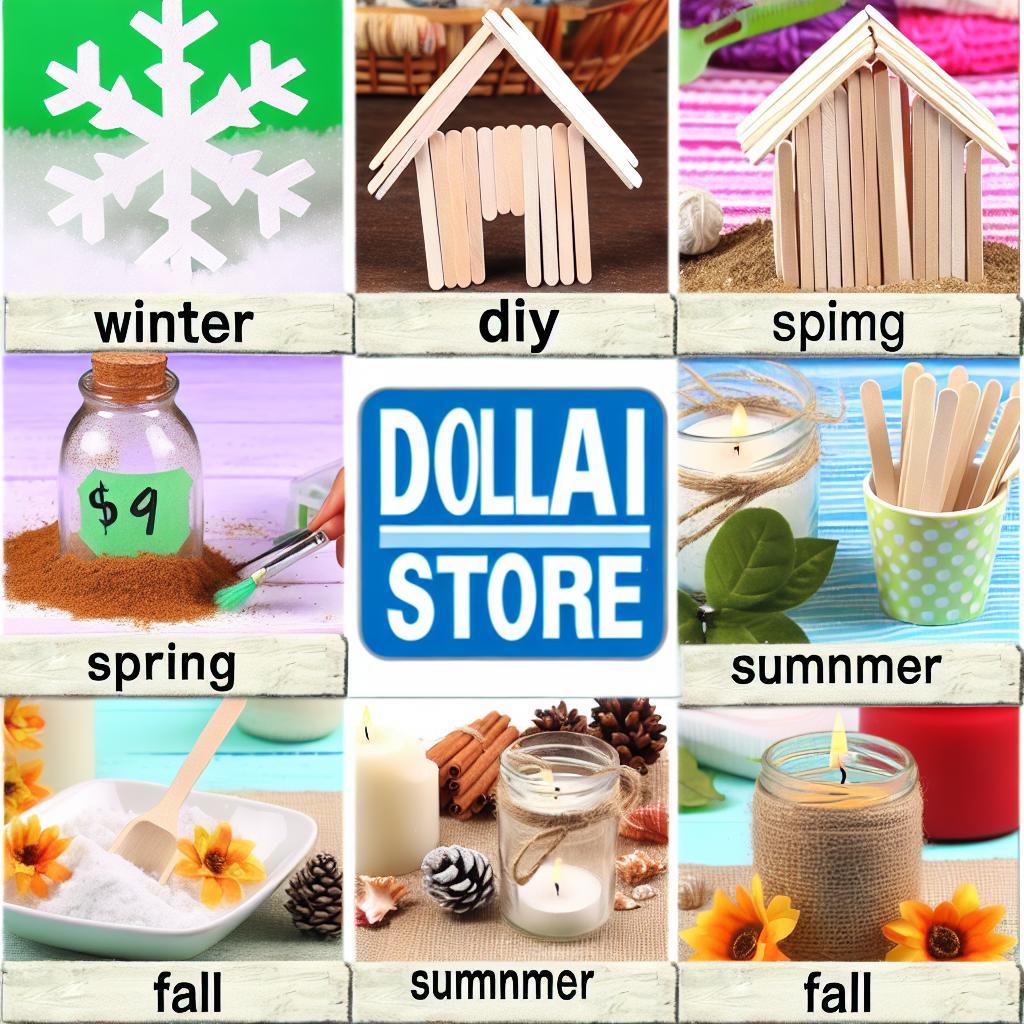
Dollar Tree Craft Ideas for Every Season Introduction Are you a DIY enthusiast looking for creative ways to spruce up your home without breaking the bank? Look no further! Dollar Tree offers a treasure trove of crafting materials that make DIY on a budget not only possible but also fun and rewarding. In this article, we’ll explore Dollar Tree craft ideas for every season, using affordable materials to create beautiful, seasonal décor. Seasonal Craft Ideas Spring Crafts Spring is all about renewal and fresh beginnings. Bring a touch of spring into your home with these delightful Dollar Tree craft ideas: Floral Wreaths Bunny Mason Jars Easter Egg Tree Summer Crafts Brighten your home with summer-inspired crafts that celebrate sunshine and beach vibes: Beach-themed Terrarium DIY Flip-Flop Welcome Sign Mason Jar Lanterns Fall Crafts Embrace the cozy vibes of fall with these budget-friendly fall crafts: Harvest Wreath Pumpkin Spice Candles Leaf Garland Winter Crafts Make your home a winter wonderland with these festive Dollar Tree craft ideas: Snowflake Window Clings Christmas Ornament Wreath Holiday Centerpieces Materials The best part about Dollar Tree crafts is the affordability. Here are some basic materials you can find at Dollar Tree that will be useful for these seasonal projects: Artificial Flowers Mason Jars Craft Paints and Brushes Hot Glue Gun and Glue Sticks Seasonal Décor Items (e.g. mini pumpkins, Christmas ornaments, Easter eggs) Ribbon and Twine Foam Wreath Forms Step-by-Step Instructions Spring Floral Wreath Materials Foam Wreath Form Artificial Flowers Hot Glue Gun Ribbon Instructions Start by wrapping the foam wreath form with ribbon to create a base layer. Cut the artificial flowers from their stems, leaving a short stub. Using the hot glue gun, attach the flowers to the wreath form, covering it completely. Add a decorative bow made from ribbon as a finishing touch. Hang your beautiful spring wreath on your front door or wall. Summer Beach-themed Terrarium Materials Glass Bowl or Vase Sand Miniature Shells and Sea Creatures Small Plants (optional) Instructions Fill the glass bowl with a layer of sand. Arrange miniature shells and sea creatures on top of the sand. Add small plants to create a more realistic terrarium if desired. Place your beach-themed terrarium on a table or shelf to enjoy a touch of summer indoors. Fall Harvest Wreath Materials Foam Wreath Form Fake Leaves Mini Pumpkins Hot Glue Gun Ribbon for Hanging Instructions Wrap the foam wreath form with ribbon or twine to create a base. Glue fake leaves around the wreath form, overlapping them slightly. Add mini pumpkins in a balanced arrangement around the wreath. Attach a ribbon to the top of the wreath for hanging. Display your harvest wreath on a door or wall. Winter Snowflake Window Clings Materials Window Cling Vinyl Sheets Snowflake Templates Scissors Marker Instructions Trace snowflake templates onto the window cling vinyl sheets using a marker. Carefully cut out the snowflake shapes with scissors. Peel off the backing and stick the snowflakes onto your windows. Arrange them creatively to create a snowy scene. Final Tips Creating seasonal crafts with Dollar Tree materials is not only budget-friendly but also allows for endless creativity. Here are a few final tips to ensure your DIY projects are successful: Plan ahead and gather all necessary materials before starting your projects. Use coupons and sales at Dollar Tree to maximize your savings. Don’t be afraid to experiment with different colors and textures to make each craft unique. Get the whole family involved for a fun and bonding experience. For more DIY on a budget ideas, check out our Fall DIY Decorations on a Budget and Spring Home Renovation Ideas articles.
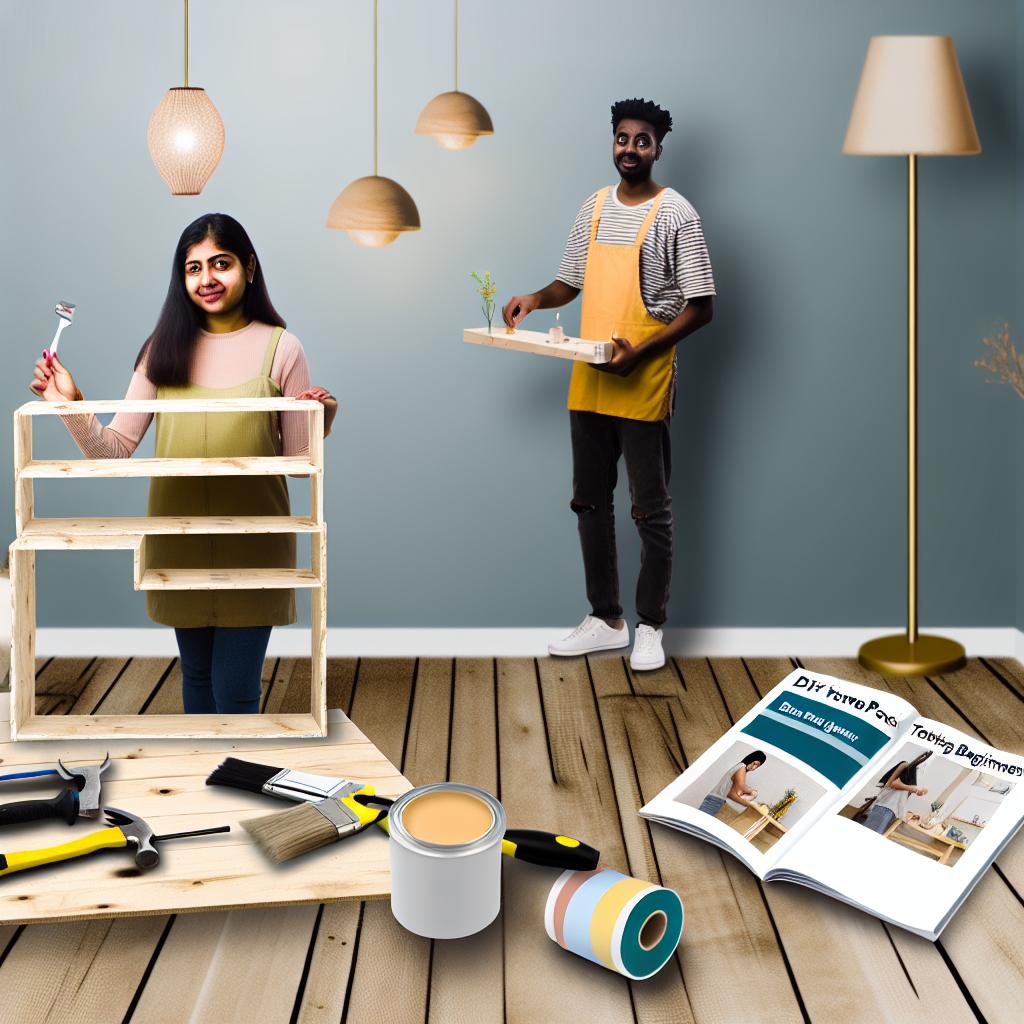
South Asian woman building wooden shelf, Black man painting wall.
Uncategorized

DIY Home Projects for Beginners

DIY Home Projects for Beginners If you’re new to home DIY projects, you’ve come to the right place. This guide will provide you with a handful of simple, affordable, and easy DIY projects that anyone can tackle. Not only will these projects help enhance the beauty and functionality of your home, but they’ll also give you the satisfaction of creating something with your own two hands. Tools Needed Before diving into your first DIY project, it’s essential to have some basic tools on hand. Here’s a list of must-have tools for beginners: Hammer: Useful for nailing, assembling furniture, and other tasks. Screwdriver Set: Both flathead and Phillips screwdrivers in various sizes are essential. Measuring Tape: Accurate measurements are crucial for any project. Level: Ensures everything is straight and aligned. Utility Knife: For cutting materials like cardboard, carpet, or plastic. Drill: Drilling holes and driving screws become significantly easier. Sandpaper: Smooths rough surfaces and edges. Paintbrushes: Various sizes for different painting tasks. Pliers: Useful for gripping, bending, and cutting wires. Safety Gear: Goggles, gloves, and a dust mask for protection. Step-by-Step Guide Project 1: Floating Shelves Floating shelves are a perfect way to add storage and display space to your home. Here’s how to create your own: Materials: Wooden boards (length and width based on your preference) Brackets Screws Wall anchors Paint or stain Sandpaper Instructions: Measure and Cut: Measure the space where you’ll install the shelves and cut the wooden boards to size. Sand: Sand the edges and surfaces of the boards to smooth them out. Paint or Stain: Apply paint or stain to the boards and let them dry completely. Install Brackets: Mark the positions for the brackets on the wall and drill pilot holes. Insert wall anchors if needed. Mount Shelves: Attach the brackets to the wall with screws, then place the prepared shelves on the brackets. Project 2: Customized Planters Personalized planters can brighten up your home and add a touch of nature. Here’s a straightforward way to make them: Materials: Terracotta pots Paints (acrylic or waterproof) Paintbrushes Stencils (optional) Potting soil Plants or seeds Instructions: Clean Pots: Ensure the terracotta pots are clean and dry. Paint: Use your paints to decorate the pots. You can use stencils for a more detailed design. Seal: Once the paint is dry, seal the pots with a waterproof sealer to protect the design. Plant: Fill the pots with potting soil and add your plants or seeds. Project 3: DIY Photo Frame Gallery Wall Creating a gallery wall with DIY photo frames can personalize and brighten any room. Here’s how to do it: Materials: Assortment of photo frames Paint Sandpaper Measuring tape Level Hanging hardware Photos or artwork Instructions: Paint Frames: Sand the frames lightly and then paint them in your chosen colors. Let them dry completely. Plan Layout: Lay out the frames on the floor to plan your gallery wall layout. Experiment with different arrangements until you find one you like. Mark Wall: Use a measuring tape and level to mark where each frame will hang on the wall. Install Hardware: Attach hanging hardware to the frames and the wall as needed. Ensure everything is level and secure. Hang Frames: Place photos or artwork in the frames and hang them on the wall according to your layout plan. Common Mistakes Even simple DIY projects can go awry. Here are some common mistakes to avoid: Skipping Measurements: Always measure twice before cutting or drilling. This can save time and resources. Ignoring Surface Preparation: Sanding and cleaning surfaces before painting or staining ensures better adhesion and a smoother finish. Using the Wrong Tools: Using improper tools can lead to poor results and can even cause injury. Not Securing Items Properly: Ensure shelves, frames, and other items are securely anchored to avoid accidents. Rushing: Taking your time to follow each step carefully can prevent mistakes and ensure high-quality results. FAQ Q1: What are the best materials for beginners to work with? Wood, terracotta, and simple fabrics are great materials for beginners due to their ease of use and versatility. Q2: How can I ensure a professional finish on my DIY projects? Proper preparation, such as cleaning and sanding, along with using quality paints and materials, can help achieve a professional finish. Q3: How do I know if my wall can support floating shelves? Use a stud finder to ensure you’re anchoring the shelves to wall studs for proper support. For drywall, use appropriate wall anchors and brackets. Conclusion Embarking on DIY home projects can be incredibly rewarding, especially for beginners. With a little patience and the right tools, you can transform your living space with simple, affordable projects. Remember to take your time, follow the instructions, and enjoy the process. For more DIY inspiration and guides, check out our other helpful articles like DIY Bathroom Remodel Tips and Creating a Cozy Living Room on a Budget.

Scroll to Top