## Creative Cardboard Crafts for Home Décor
In today’s world of sustainability and eco-conscious living, upcycling everyday materials into eye-catching home décor has become a popular trend. Among the materials that can be transformed into beautiful DIY home décor, cardboard stands out for its versatility, availability, and environmental benefits. Whether you’ve recently moved, online shopped more than usual, or just want to declutter the boxes piling up at home, cardboard crafts offer an excellent opportunity to create something unique and stunning. This comprehensive guide will walk you through creative cardboard crafts that not only enhance your home décor but also contribute towards reducing waste.
As we explore various craft project ideas, keep in mind that each project is designed to be gentle on the environment, ensuring that you can create a greener, aesthetically pleasing home. Let’s dive into the world of cardboard crafts and discover how you can bring a touch of creativity to every corner of your house.
## Craft Project Ideas
### Wall Art
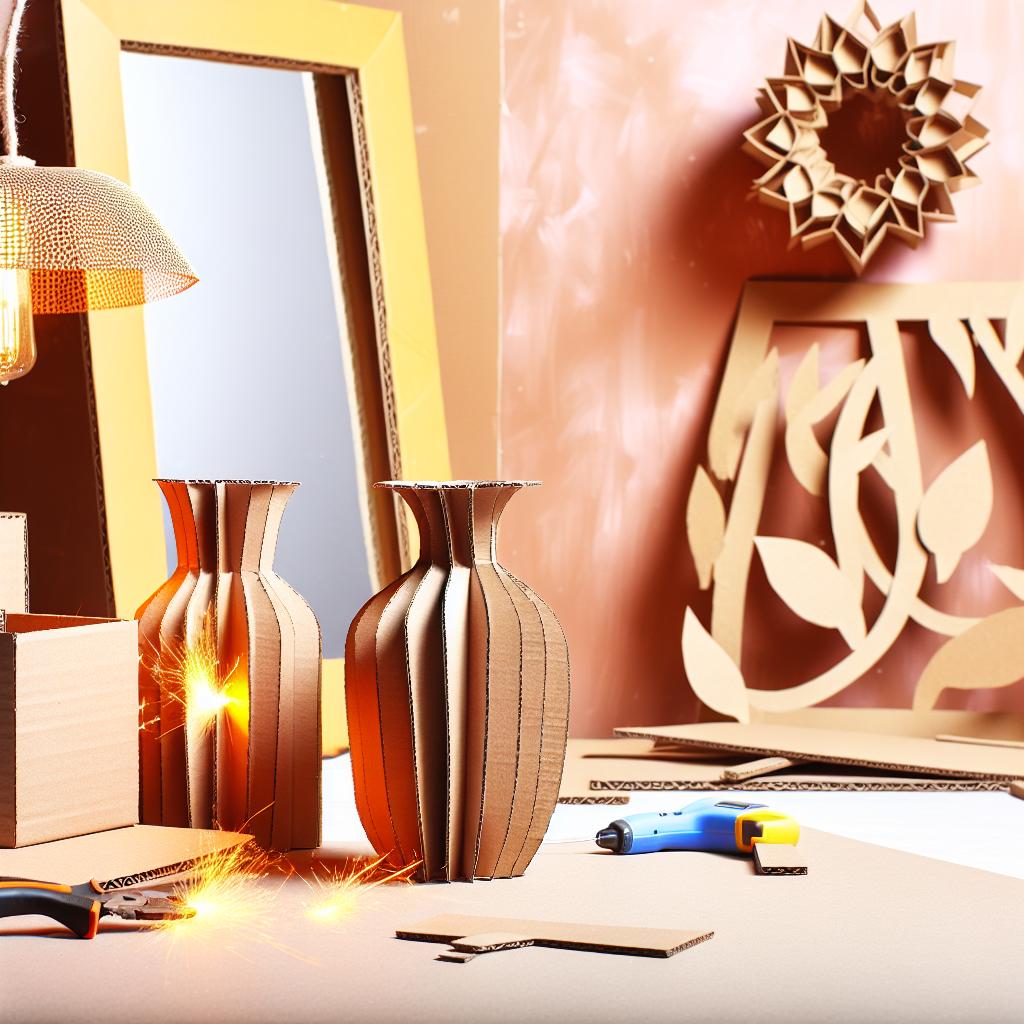
Transform simple pieces of cardboard into spectacular wall art that can become the centerpiece of any room. Using stencils, paint, and a bit of creativity, you can craft geometric designs, abstract art, or personalized pieces that reflect your style.
### Cardboard Photo Frames
Display your favorite memories with personalized cardboard photo frames. Use layers of cardboard to create depth, and decorate with paints, paper, or fabric for a unique touch.
### Textured Wall Panels
Add dimension to a room with textured cardboard wall panels. Cut cardboard into various shapes and sizes, layer them artfully, and paint them in colors that complement your interior theme for an elegant, modern look.
### Plant Pots
Cardboard plant pots offer an eco-friendly alternative for your indoor plants. They’re simple to craft and can be customized to match the décor of any room, making them perfect for any DIY home décor project.
### Jewelry and Makeup Organizer
Keep your accessories tidy with a handmade cardboard organizer. These can range from simple trays to intricate designs with multiple compartments for jewelry or makeup storage.
### Table Décor Pieces
From elaborate centerpieces to subtle, decorative figurines, cardboard can be molded into numerous table décor items to suit your aesthetic preferences. Try creating seasonal decorations that you can switch out throughout the year.
After exploring these creative project ideas, let’s move on to understanding the materials required for these exciting cardboard crafts.
## Materials Needed
Before starting any project, gathering the right materials is crucial for a smooth crafting process. Here’s a comprehensive list of materials you will need for your cardboard crafts:
- Cardboard: Collect cardboard from used boxes, packaging materials, or even discarded folders. The thickness of the cardboard might vary based on the project.
- Cutting Tools: A sharp crafting knife or scissors is essential for clean cuts. Consider using a cutting mat to protect your surfaces.
- Adhesives: Use eco-friendly glue or tape to assemble your pieces. For more permanent fixtures, consider an eco-friendly adhesive.
- Paints: Non-toxic acrylic paints work best for cardboard. They dry quickly and offer vibrant colors.
- Brushes and Sponges: Useful for painting and texturing your cardboard creations.
- Stencils: Easily create patterns and designs on your cardboard art pieces.
- Decorative Papers and Fabrics: Add flair with patterned paper or fabric for a more personalized touch.
- Varnish or Mod Podge: Seal your finished pieces with a layer of varnish or [homemade Mod Podge](https://myhomediyguide.com/homemade-mod-podge-craft-projects/) to enhance durability.
- Optional: Additional embellishments like beads, buttons, or sequins for decorative purposes.
Gathering these materials will set you up for success in each project, ensuring you have everything you need for your creative journey. Next, we’ll move on to step-by-step instructions for each cardboard craft project.
## Step-by-Step Instructions
### Wall Art Creation
1. Preparation:
Choose a design for your wall art, whether it is geometric, abstract, or themed. Sketch it out on paper first.
2. Cutting the Cardboard:
Lay your cardboard flat and trace your design onto it. Use a crafting knife to cut out the shapes with precision.
3. Decorating:
Paint your pieces using your selected color scheme. Acrylic paints work well here. Let them dry completely.
4. Assembly:
Arrange your pieces on your intended wall space. You can experiment with the layout before fixing them with glue or tape.
5. Mounting:
Once satisfied with the design, securely mount the pieces using wall-safe adhesive strips or small nails.
### Crafting Photo Frames
1. Frame Outline:
Determine the size of your photo and cut 2 cardboard pieces, slightly larger than the photo, for the back and the front frame.
2. Window Cut-Out:
On the front piece, cut a smaller window that matches the dimensions of your photo.
3. Decorate:
Paint or cover the frames with fabric or decorative paper, giving it a unique finish.
4. Assemble the Frame:**
Attach the photo to the back piece using glue, then attach the front frame using tape or glue around the edges.
5. Final Touches:
Seal with a thin layer of Mod Podge if desired. Add embellishments like beads or buttons for additional charm.
### Making Textured Wall Panels
1. Select a Design:
Decide on a geometric or abstract pattern. Draw it on your cardboard.
2. Cut and Layer:
Cut out the design elements and create layers using thinner pieces of cardboard for depth.
3. Paint:
Optional: Use textured paint or sponge painting techniques to add dimension.
4. Assembly:
Secure layers in place with glue, creating depth with spacing where needed.
5. Install:
Affix the finished panel to your wall using hooks or wall-safe adhesive strips.
### Crafting Cardboard Plant Pots
1. Choose Dimensions:
Decide the size of your plant pot based on the plant you intend to pot.
2. Cut the Pieces:
Cut panels for the sides and bottom. Ensure they fit snugly when assembled.
3. Assemble the Pot:
Use an adhesive to secure the sides to the base, creating a box-like structure.
4. Waterproofing:
Coat the inside with a waterproof sealant or line with plastic to protect from water.
5. Decorate:
Paint the exterior or wrap it in decorative paper for added aesthetics.
### Jewelry and Makeup Organizer
1. Design Layout:
Sketch your desired dimensions and compartments for the organizer.
2. Cut Pieces:
Cut base, sides, and dividers from cardboard according to your design.
3. Assembly:
Using glue, start assembling the base, then attach the sides and dividers.
4. Décor:
Paint or cover with fabric, focusing on matching your room’s décor.
5. Final Assembly:
Secure any loose parts with strong glue, such as the dividers or decorative elements.
### Creating Table Décor Pieces
1. Choose a Theme:
Pick a theme, like seasonal, abstract, or holiday-specific décor.
2. Design Elements:
Cut out various shapes and elements needed for your design from cardboard.
3. Decoration:
Paint each piece using colors and techniques that bring your design to life.
4. Assembly:
Glue elements into place, creating layers for a three-dimensional effect.
5. Display:
Once dried, place your finished centerpiece on the table, adding a touch of handmade charm.
## Final Thoughts
Cardboard crafts represent an exciting way to merge creativity with sustainability, turning recyclable materials into stunning DIY home décor. These projects not only beautify your living spaces but also contribute to waste reduction and eco-friendly practices. Whether you are decorating for a specific season, like autumn, which you can learn more about from our DIY Fall Décor guide, or simply looking to enhance your home’s everyday aesthetic, cardboard offers a multitude of possibilities.
Why not try integrating some of these cardboard crafts into your next project? For more sustainable home projects, check out our DIY home design ideas to inspire your next makeover. And if your creative pursuit leads you outdoors, consider our guide on creating natural sprays for garden protection.
Remember, every craft project can be a work of art, echoing your personal style while championing eco-conscious living. Happy crafting!


