## Creative DIY Ideas for Old Tree Stumps
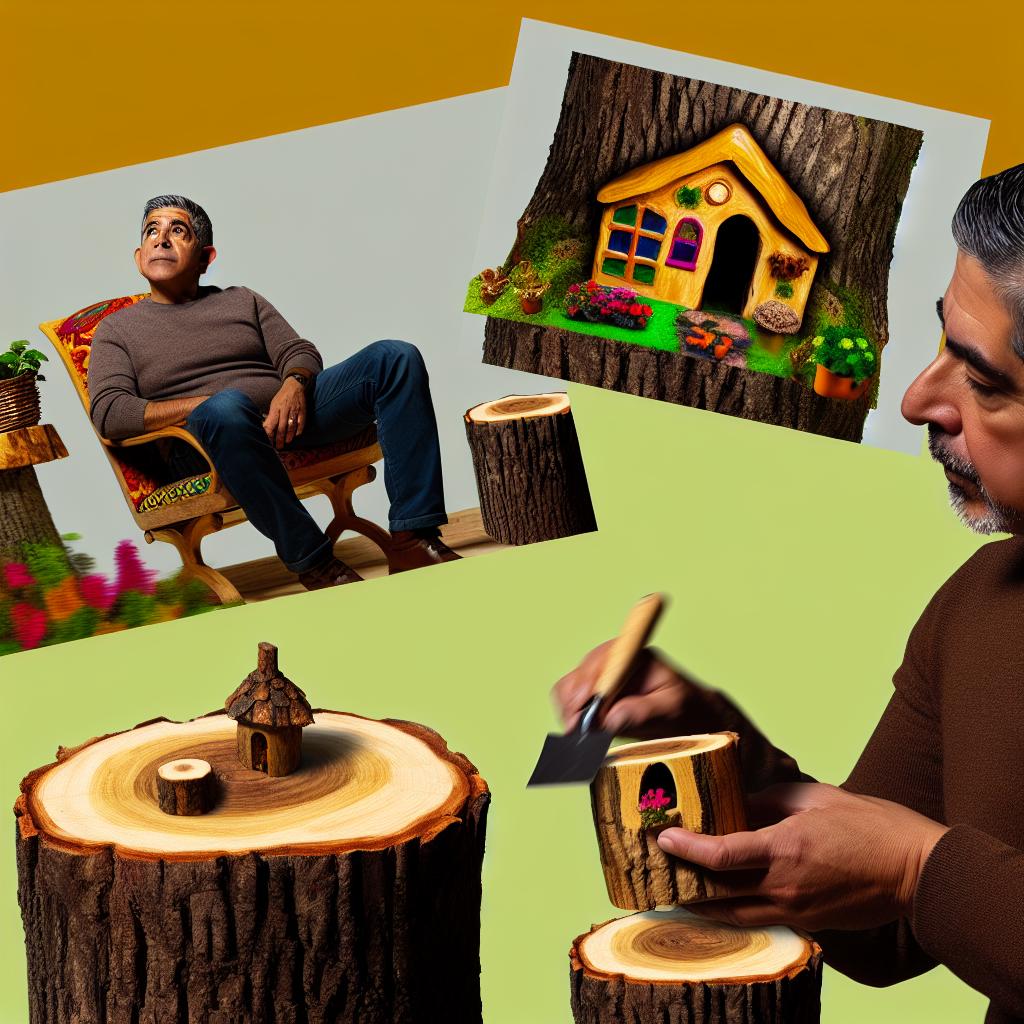
Transforming old tree stumps into functional and beautiful pieces for your home or garden is an exciting and rewarding DIY project. Whether you are looking for new furniture, planters, or sculptures, reusing tree stumps is a sustainable way to add both aesthetic and ecological value to your spaces. In this article, we will cover creative DIY ideas for tree stumps, discuss the tools and materials you’ll need, provide detailed step-by-step instructions, and finally wrap up with some thoughts on how these projects can enhance your home décor.
## Project Ideas
### 1. Tree Stump Garden Furniture
Enhance your garden’s charm by creating beautiful furniture from old tree stumps. They can be transformed into tables, benches, or stools, offering a natural and rustic look that blends seamlessly with outdoor surroundings.
### 2. Stump Planters
Bring a touch of whimsy to your garden by turning tree stumps into planters. They provide excellent natural drainage for plants and can be as simple or elaborate as you wish.
### 3. Stump Sculptures
Unleash your creativity with tree stump sculptures. From abstract forms to animal figures, these unique pieces can be a focal point in your garden or yard.
### 4. Stump Bird Baths
Invite birds into your garden by creating a birdbath from an old tree stump. This project not only serves a functional purpose but also enhances your garden’s wildlife ecosystem.
### 5. Tree Stump Side Table
A tree stump side table is a chic addition to any living space. Its organic shape and natural appeal can complement any interior style, adding warmth and character.
## Tools and Materials
To carry out these projects, you will need the following tools and materials:
– Chainsaw or hand saw
– Sandpaper (various grits)
– Power drill
– Chisel
– Hammer
– Wood sealant or paint
– Outdoor varnish (for outdoor projects)
– Soil and plants (for planters)
– Accessories like cushions or fabric for furniture projects
## Step-by-Step Instructions
### Tree Stump Garden Furniture
#### Materials Needed:
– One or more tree stumps
– Sandpaper (80 to 220 grit)
– Outdoor varnish or wood sealant
– Optional: paint or stain for color
#### Instructions:
1. **Prepare the Stump:** Begin by cutting the tree stump to an appropriate height for your intended piece of furniture using a chainsaw or hand saw.
2. **Smooth the Surface:** Use sandpaper to smooth out the top and sides of the stump. Start with a coarser grit and gradually move to finer grits until you achieve a smooth finish.
3. **Apply Finish:** If you prefer a natural look, apply a clear outdoor varnish. For a colored finish, use wood stain or paint. Let it dry completely.
4. **Add Comfort:** For stools or chairs, consider placing a cushion on top for seating comfort. Secure it with outdoor fabric adhesive if needed.
### Stump Planters
#### Materials Needed:
– Hollowed-out tree stump
– Soil
– Plants or flowers of your choice
#### Instructions:
1. **Hollow the Stump:** Use a chisel and hammer to hollow out the center of the stump, leaving about an inch of wall thickness all around.
2. **Fill with Soil:** Add potting soil to the hollowed area, filling it up to about an inch from the top.
3. **Plant Your Flora:** Choose a variety of plants or flowers that fit your climate and garden design, and plant them in the soil.
4. **Maintain Your Planter:** Water the plants regularly and ensure the planter is placed in a well-drained area.
### Stump Sculptures
#### Materials Needed:
– Tree stump
– Carving tools
– Sandpaper
– Weatherproof paint (optional)
#### Instructions:
1. **Select Your Design:** Sketch your desired sculpture design on paper before starting. It can be helpful to have a visual guide.
2. **Carve the Stump:** Use carving tools to shape the stump into your chosen design. Take your time and carefully carve out the details.
3. **Smooth the Sculpture:** Once carved, use sandpaper to smooth rough edges and surfaces.
4. **Paint or Stain (Optional):** If you wish to add color, use weatherproof paint or stain, ensuring it’s suitable for outdoor use.
5. **Seal the Sculpture:** Apply a sealant to protect your sculpture from the elements, especially if it will be placed outdoors.
### Stump Bird Baths
#### Materials Needed:
– Large tree stump
– Tile or stone bird bath basin
– Outdoor adhesive
#### Instructions:
1. **Level the Top:** Ensure the top of your tree stump is flat and level to securely hold the bird bath basin.
2. **Secure the Basin:** Use outdoor adhesive to attach a pre-made bird bath basin on top of the stump.
3. **Decorate:** Add decorative stones or small statues around the base of the stump to enhance visual appeal.
4. **Maintain the Bird Bath:** Regularly clean the basin and refill it with clean water to keep the birds happy and healthy.
### Tree Stump Side Table
#### Materials Needed:
– Medium-sized tree stump
– Sandpaper
– Wood finish (varnish or paint)
– Hairpin or wooden table legs
– Screws
#### Instructions:
1. **Prepare the Stump:** Sand the top and sides of the stump until smooth to touch.
2. **Apply Finish:** Coat the stump with wood varnish or paint, allowing it to dry between coats if needed.
3. **Attach Legs:** Use a power drill to attach hairpin or wooden table legs to the bottom of the stump.
4. **Position Your Table:** Place your new side table in your desired location, ready to use.
## Final Thoughts
Repurposing an old tree stump is a perfect way to blend functionality with creativity in your DIY projects. By crafting garden furniture, unique sculptures, or practical planters, you can breathe new life into these natural elements while enhancing your home décor. If you enjoyed these projects, you might want to explore other DIY home improvement ideas [here](https://myhomediyguide.com/diy-home-improvement-ideas-budget/). Also, for those pesky garden pests you might encounter, consider making your own [homemade beetle spray](https://myhomediyguide.com/diy-japanese-beetle-spray-for-gardens/).
For more inspiration on refreshing your home with simple, creative touches, check out our [easy DIY spring décor guide](https://myhomediyguide.com/easy-diy-spring-decor-to-refresh-your-home/). Embrace your inner DIY enthusiast, and let your imagination transform your outdoor and indoor spaces with these practical, eco-friendly projects.


