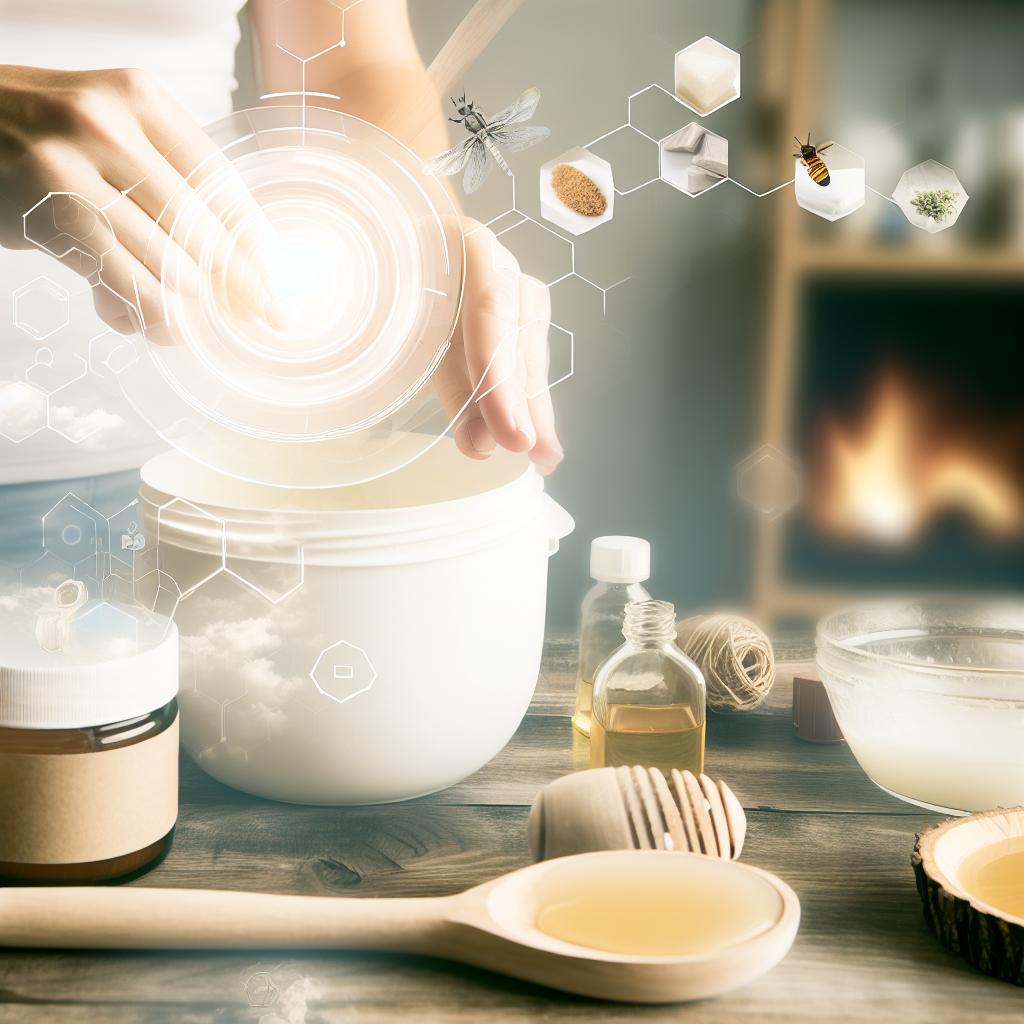
Introduction
As the weather turns colder and the flu season lurks around the corner, many of us reach for over-the-counter cold remedies. One popular choice for relieving symptoms of colds and congestion is Vicks Vapor Rub. However, have you ever considered making your own homemade Vicks Vapor Rub? Not only can you customize the scent and ingredients to suit your personal preferences, but you can also ensure that only natural ingredients touch your skin. This article will guide you through the process of creating a DIY health remedy that rivals store-bought products, boasting fewer additives and chemicals.
Ingredients
Making your own vapor rub at home is not only cost-effective but also relatively straightforward. Below, you’ll find a list of ingredients that are key to creating an effective and soothing homemade vapor rub. Each component is beneficial in its own right and known for its therapeutic properties.
Coconut Oil
- Acts as a moisturizing base.
- Helps in blending all ingredients smoothly.
Beeswax
- Provides a semi-solid consistency to the rub.
- Acts as a barrier on the skin.
Essential Oils
- Eucalyptus Oil: Known for relieving nasal congestion and sinus issues.
- Peppermint Oil: Has a cooling effect that can help relieve headaches and muscle pains.
- Lavender Oil (optional): Promotes relaxation and sleep.
Optional Additions
- Camphor Crystals: Intensifies the decongestant properties.
Step-by-Step Instructions
Ready to begin? Follow these simple steps to create your own personalized homemade Vicks Vapor Rub:
- Melting the Base: In a double boiler, combine ½ cup of coconut oil and 2 tablespoons of beeswax. Heat gently until fully melted.
- Mixing Essential Oils: Once melted, remove the mixture from heat and allow it to cool slightly. Add 10 drops of eucalyptus oil, 5 drops of peppermint oil, and 3 drops of lavender oil (if using). Stir thoroughly.
- Adding Optional Ingredients: If desired, add a small amount of camphor crystals for added potency. Ensure crystals are fully dissolved and mixed in.
- Pour and Set: Pour the mixture into a clean jar or tin. Allow it to cool and set completely before use, approximately 2-3 hours.
Benefits
Creating your own vapor rub not only encourages the use of natural home remedies but also allows for a deeper understanding of the benefits of each ingredient. Let’s explore why a homemade version may be superior to store-bought products:
No Unnecessary Additives
The homemade version avoids synthetic chemicals and preservatives found in many commercial products. This ensures that your skin only comes in contact with pure, natural ingredients.
Customizable Scents and Strength
By adjusting essential oil ratios, you can tailor the vapor rub to your precise needs and preferences. Prefer more peppermint? Simply add more drops!
Environmentally Friendly
Utilizing reusable containers for your vapor rub contributes to reducing plastic waste — an eco-conscious choice that aligns with other sustainable DIY practices.
Usage Tips
Once your homemade vapor rub is ready, it’s important to understand the best use practices to maximize its benefits:
- Apply Sparingly: A small amount goes a long way. Apply a thin layer to your chest, back, and throat.
- Foot Application: For night-time relief, rub some vapor rub on your feet and cover with socks. This can enhance absorption.
- Steam Inhalation: Add a small amount to a bowl of hot water. Inhale the steam to help clear nasal passages.
Precautions
Despite the natural ingredients, there are a few precautions to keep in mind when using homemade vapor rub:
Patch Test
Before first use, perform a patch test to ensure no allergic reaction occurs. Apply a small amount inside your elbow and wait 24 hours.
Avoid Eyes
Ensure that you keep the vapor rub away from your eyes and mucous membranes as it can cause irritation.
Child Safety
Be cautious using vapor rubs on children under two years old. Their skin is more sensitive, and strong essential oils may cause irritation.
Creating a DIY health solution like homemade Vicks Vapor Rub ensures you know exactly what you’re applying to your skin. This kind of empowerment in choosing natural home remedies can extend to other areas of your living space as well, such as incorporating easy DIY spring decor to refresh your home or learning how to make homemade Pine-Sol for your cleaning needs.


