DIY Home Improvement Ideas on a Budget
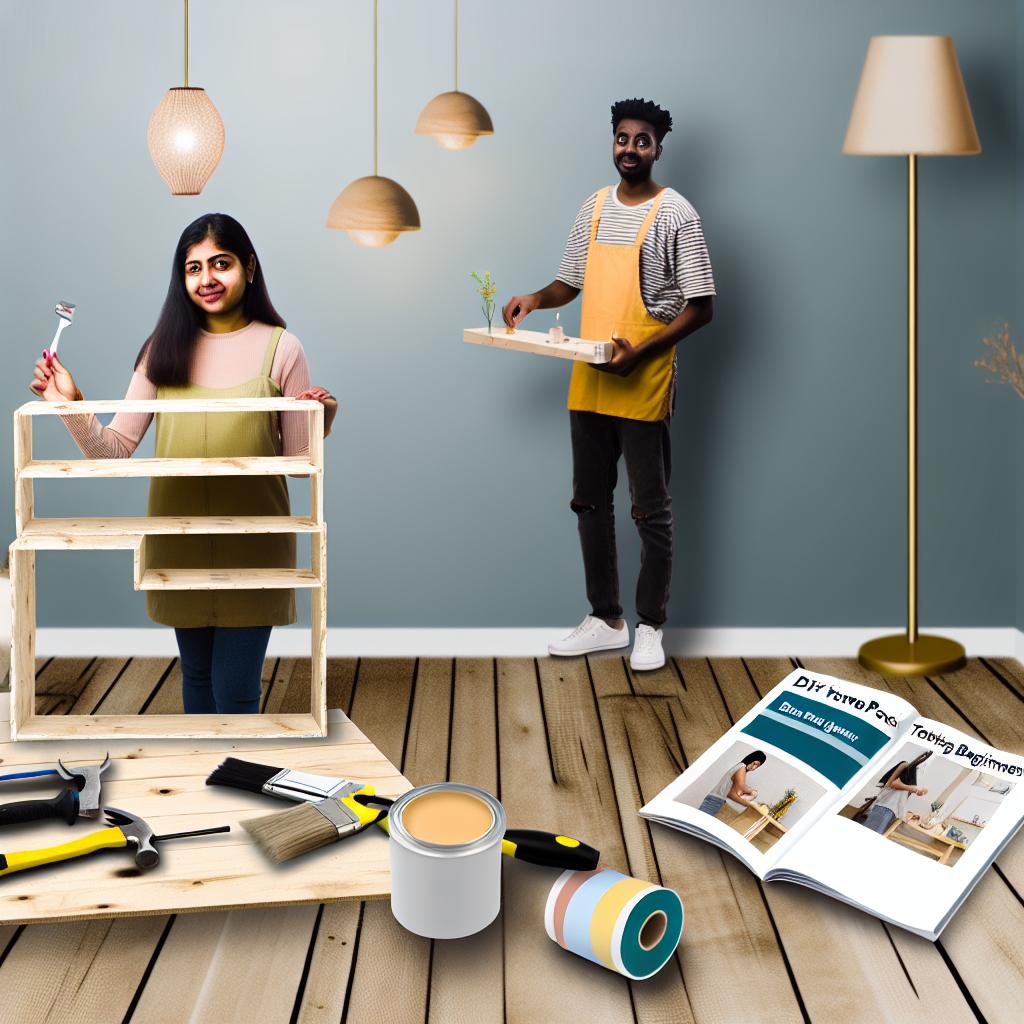
Home improvement projects can sometimes feel daunting, especially when budget constraints come into play. The good news is that you can achieve stunning transformations without breaking the bank. With a bit of creativity and some well-thought-out strategies, DIY home improvement can be both fun and cost-effective. In this comprehensive guide, we will delve into a range of budget-friendly ideas, the essential tools and materials you’ll need, step-by-step instructions, and some final tips to ensure your DIY home improvement projects are a success.
Budget-Friendly Ideas
In this section, we will explore a variety of DIY home improvement ideas that will help you create a beautiful living space without spending a fortune. From simple décor updates to more involved projects, there’s something for every level of DIY enthusiast.
1. Paint Refresh
One of the most effective and inexpensive ways to give your home a fresh look is to repaint. Whether you’re tackling a single room or the entire house, a new coat of paint can dramatically change the appearance of your space.
- Focus on accent walls to save on paint costs.
- Consider neutral colors to enhance the resale value of your home.
2. Upcycle Furniture
Upcycling old furniture can be a rewarding and budget-friendly way to revitalize your home. If you have an old entertainment center gathering dust, read our guide on upcycling old entertainment centers for creative ideas.
3. Install a Backsplash
A new backsplash can completely change the look of your kitchen without requiring a full renovation. Peel-and-stick tiles are a budget-friendly option that offers an array of styles and finishes.
4. Create Custom Artwork
Create your personal artwork or crafts to give your home a unique flair. Cardboard crafts for home décor are a great way to personalize your space economically. Check out our cardboard crafts guide for inspiration.
5. Smart Home Enhancements
Transform your home into a smart home without breaking the bank. Simple additions like smart plugs and bulbs can significantly change your home’s functionality. See our smart home on a budget guide for more ideas.
Tools & Materials
Before diving into your DIY home improvement projects, gathering the right tools and materials is crucial. Here’s a list of essential items that will help you get started:
Basic Tool Kit
- Hammer
- Screwdriver set
- Measuring tape
- Utility knife
- Pliers
- Level
Painting Supplies
- Paint rollers and brushes
- Painter’s tape
- Drop cloths
- Paint tray
Hardware and Fasteners
- Nails and screws
- Wall anchors
- Sandpaper
- Wood glue
Decorative Materials
- Peel-and-stick tiles
- Fabric
- Craft supplies
- Frames and canvas
Step-by-Step Instructions
Now that you have some ideas and the necessary tools and materials, let’s move on to some step-by-step instructions for a few specific projects.
1. DIY Painted Accent Wall
Materials Needed
- Paint
- Roller and brush
- Painter’s tape
- Drop cloth
Instructions
- Start by choosing a wall and a color that complements your existing décor.
- Prepare the wall by cleaning it thoroughly.
- Use painter’s tape to mask off edges, baseboards, and any other areas you don’t want to paint.
- Lay down a drop cloth to protect your floors.
- Start with a paintbrush to cut in around the edges and corners.
- Use a roller for the larger areas, applying paint in even, smooth strokes.
- Allow the first coat to dry and apply a second coat if needed.
- Remove the painter’s tape before the paint is fully dry to avoid peeling.
2. Upcycled Furniture Project
Materials Needed
- Old furniture piece
- Sandpaper
- Paint or stain
- Primer (if needed)
- Sealer
- Brush or roller
Instructions
- Start with a piece of old furniture that you want to upcycle. Clean it thoroughly.
- Sand the surfaces to remove old finishes and create a smooth surface for painting.
- Apply primer if necessary, allowing it to dry according to the instructions.
- Paint or stain the furniture piece in your chosen color or finish.
- Once the paint or stain is dry, apply a sealer to protect your work.
- Allow the sealer to dry fully before using the furniture.
3. Peel-and-Stick Backsplash Installation
Materials Needed
- Peel-and-stick tiles
- Utility knife
- Measuring tape
- Level
- Ruler
Instructions
- Measure the area where you want to install the tiles to determine how many you’ll need.
- Clean the surface to ensure good adhesion.
- Use a level and a ruler to draw guidelines where you’ll place the tiles.
- Peel the backing off one tile and carefully press it onto the wall, starting from one corner.
- Continue to add tiles, aligning them carefully to maintain straight lines.
- Use a utility knife to cut tiles to fit around edges and outlets.
4. Custom Artwork Creation
Materials Needed
- Canvas or cardboard
- Paints or markers
- Brushes
- Frames
Instructions
- Choose a design or pattern for your artwork.
- Prepare your canvas or cardboard by cleaning and priming if necessary.
- Start painting or drawing your design on the canvas.
- Allow the artwork to dry completely.
- Frame the finished piece and hang it in your desired location.
5. Simple Smart Home Upgrade
Materials Needed
- Smart plug
- Smart light bulbs
- Wi-Fi connection
- Smartphone
Instructions
- Start with a smart plug. Plug it into an outlet, and then plug an appliance into the smart plug.
- Download the corresponding app and follow the setup instructions.
- Similarly, replace your old light bulbs with smart bulbs.
- Use the app to program schedules, control devices from your phone, and even use voice commands if compatible with smart assistants.
Final Tips
Embarking on a DIY home improvement journey can be incredibly rewarding. Here are a few final tips to ensure your projects run smoothly and yield the best results.
1. Plan Ahead
Before starting any project, take the time to plan out every step. This will not only save you time but also help you stay within budget.
2. Stay Organized
Keep your work area organized. Gather all tools and materials before you start, and clean up as you go to make the process more efficient.
3. Learn New Skills
Take advantage of online tutorials and resources to learn new skills that could be beneficial for your projects. For example, learning how to create a homemade slime for kids can be a fun activity that adds a creative touch to your home.
4. Use Natural Solutions
For those concerned about chemicals, consider using natural solutions like DIY gnat spray for your indoor and outdoor spaces, or a natural beetle spray for your garden.
5. Seek Inspiration
Look for inspiration online or in magazines to find ideas and trends that you can adapt to your home. Our DIY fall décor ideas are a great place to start.
With these budget-friendly ideas and tips, you’ll be well on your way to creating the home of your dreams without depleting your savings. Happy DIYing!


